Epoxy flooring has become a popular choice for homeowners looking to upgrade their garages, basements, or even indoor spaces with a durable and attractive floor. While applying epoxy can be a rewarding DIY project, it’s also known to present a few challenges. If you’re thinking of tackling epoxy flooring yourself, here’s a guide to help you navigate common obstacles and ensure a successful, long-lasting result.
1. Surface Preparation
One of the most common issues with DIY epoxy flooring arises from inadequate surface preparation. Epoxy requires a clean, rough, and dry surface to adhere properly. Without proper prep, the coating may peel or fail to bond.
Solution:
- Clean Thoroughly: Remove all dust, debris, oil, or stains from the floor. Consider degreasing if the surface is oily.
- Etch or Sand: Use an acid etch or a mechanical grinder to roughen the concrete surface, ensuring the epoxy has a textured base for adherence.
- Moisture Test: Check for moisture by taping a plastic sheet to the floor and leaving it for 24 hours. If moisture forms, it could indicate a water seepage issue, which may require additional moisture mitigation before applying epoxy.
2. Temperature and Humidity Control
Epoxy flooring is sensitive to temperature and humidity. Applying epoxy when the temperature is too low can prevent it from curing correctly, while high humidity can cause bubbling or a cloudy finish.
Solution:
- Plan Around the Weather: If possible, aim to apply epoxy in mild weather, ideally when temperatures are between 60-90°F (15-32°C) and humidity is below 85%.
- Dehumidify the Area: Use dehumidifiers if you’re working in a high-humidity environment, as this can help control the conditions and prevent moisture-related issues.
- Check Cure Times: Follow the manufacturer’s instructions for curing times, which can vary based on temperature and humidity.
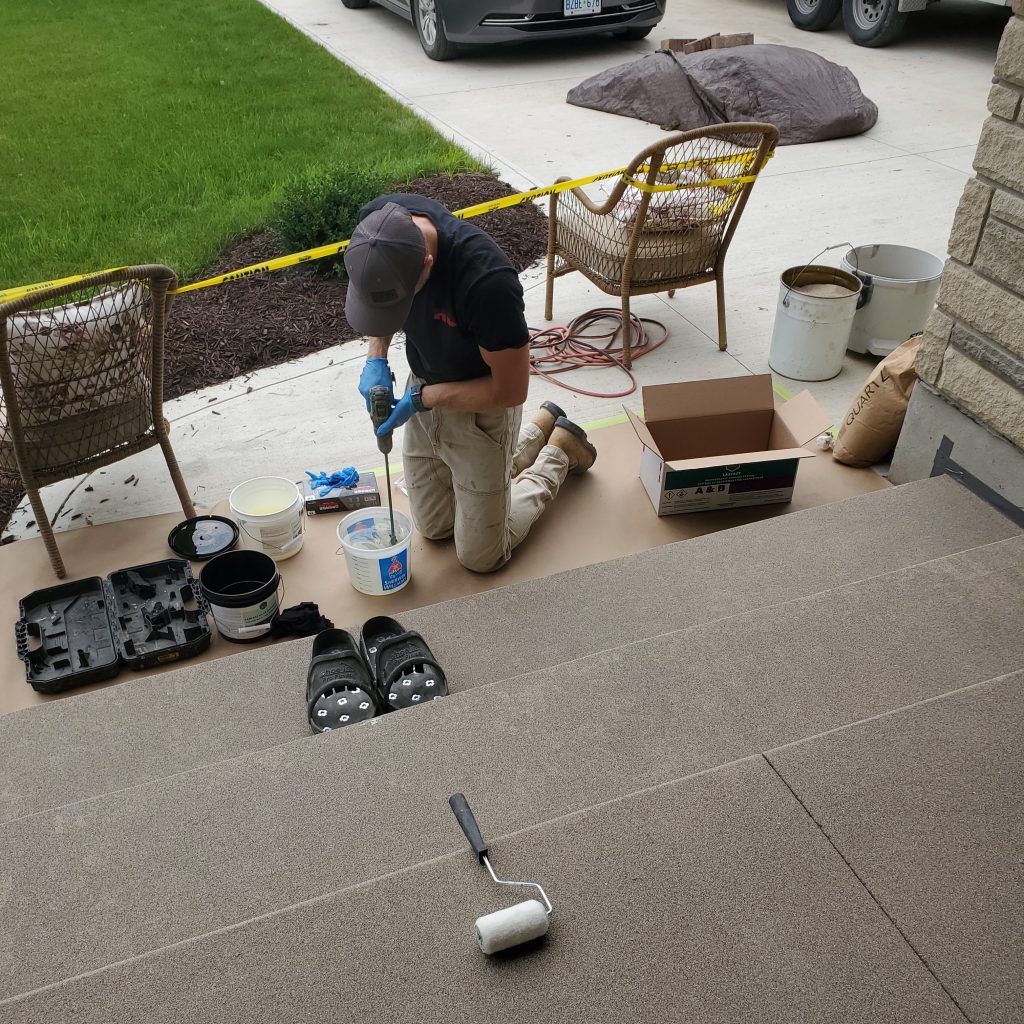
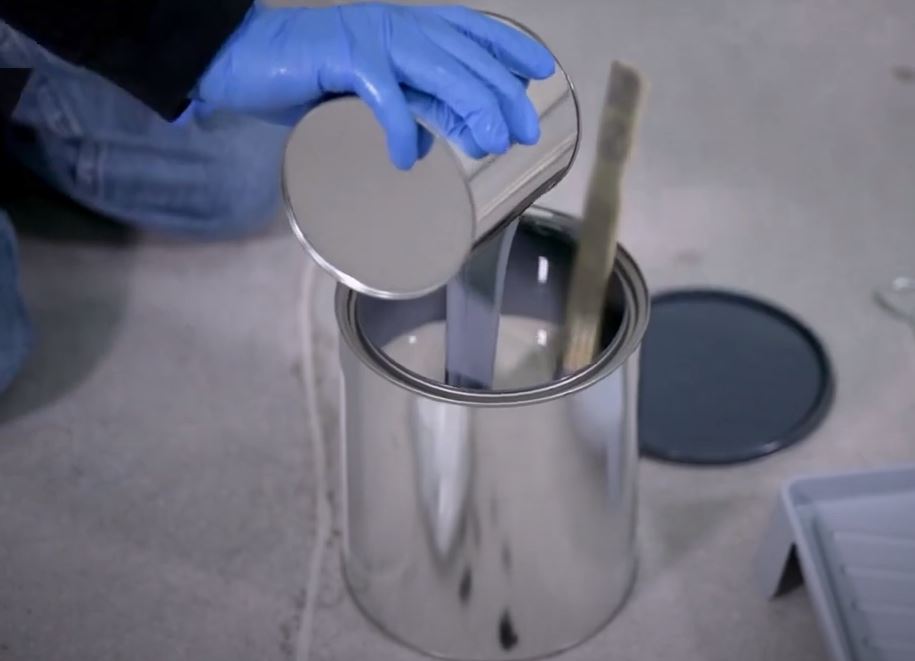
3. Mixing and Application Errors
Mixing epoxy involves combining resin and hardener, which must be done precisely. Incorrect ratios or inadequate mixing can result in poor adhesion, bubbles, and an uneven surface.
Solution:
- Measure Carefully: Use accurate measurements and follow the manufacturer’s instructions for combining resin and hardener.
- Mix Thoroughly: Use a drill with a mixing attachment to blend the epoxy until it reaches a uniform consistency. Avoid whipping it, as this can introduce air bubbles.
- Work Quickly: Epoxy has a limited pot life, meaning it can begin to cure in the container if not applied quickly. Mix only the amount you can apply within 20-30 minutes.
4. Dealing with Air Bubbles
Air bubbles are a common issue in DIY epoxy floors and can mar the finish if not addressed promptly. Bubbles may form from trapped air in the concrete or from improper mixing techniques.
Solution:
- Use a Spiked Roller: Once you’ve applied the epoxy, gently roll a spiked roller over the surface to release trapped air and pop any bubbles.
- Apply Heat: A heat gun or torch (used carefully!) can help pop bubbles on the surface by warming the epoxy slightly, making it easier to level out.
- Consider Adding a Seal Coat: A seal coat on the concrete before the main epoxy application can help prevent air bubbles from rising from the surface.
5. Achieving a Consistent Colour and Finish
Inconsistent colour and finish can result from improper application techniques, uneven surfaces, or variations in the epoxy mixture.
Solution:
- Use a Good Primer: A primer coat helps ensure a uniform colour base for the final epoxy application.
- Apply in Sections: Use a roller to apply epoxy in small sections, overlapping each one slightly to maintain consistency. Work with a partner if possible to maintain a wet edge and avoid lap marks.
- Consider Multiple Coats: Multiple coats may be necessary to achieve a rich, even finish. Just make sure each coat is thoroughly dry before applying the next one.
6. Preventing and Fixing Peeling and Chipping
Peeling and chipping can occur if the epoxy hasn’t bonded well or if the floor faces heavy wear and tear.
Solution:
- Allow for Full Curing: Epoxy takes time to cure fully, so avoid walking on or moving heavy objects onto the floor until it’s completely set.
- Apply a Topcoat: A clear epoxy or polyurethane topcoat can provide extra durability, preventing chips and scratches. This is especially recommended for high-traffic areas.
- Regular Maintenance: Sweep and clean the floor regularly to remove grit that could wear down the surface. Use felt pads under heavy furniture and avoid dragging items across the floor.
Wrapping Up
With proper planning, patience, and attention to detail, a DIY epoxy flooring project can yield professional-looking results. By preparing the surface meticulously, managing temperature and humidity, and following correct application techniques, you can overcome the common challenges DIYers face with epoxy. So roll up your sleeves, and enjoy your new, polished floor!
Whether you’re tackling a garage floor or upgrading an indoor space, knowing how to troubleshoot common issues can make the difference between a lasting finish and one that falls short of your expectations. Happy flooring!
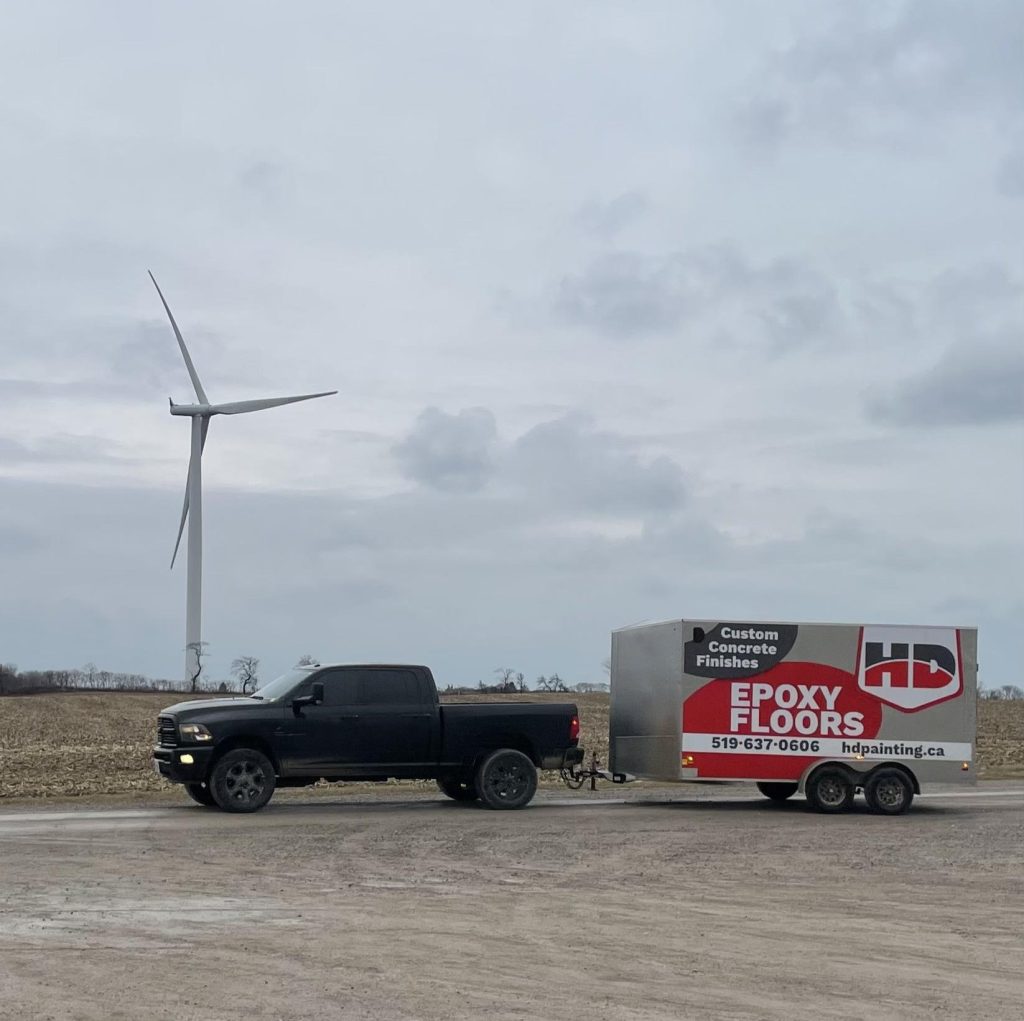
At HD Custom Concrete Finishes we install a wide range of product options from quartz, flake, solid colour, custom colour, metal finish, marble finish, and concrete sealing. We at HD Custom Concrete Finishes excel at exposing the beauty of concrete and providing a long-lasting finish. Whether it’s your garage or your warehouse, we’re committed to assisting you in finding the right floor customization. Our trained crews take the time to get it right, right from the start of the project.
HD Custom Concrete Finishes provides quality epoxy floor installation and concrete sealing. We specialise in completing complex projects on time and within budget using the highest quality products available on the market while providing the quality and service you expect from a family-run operation. Call 519.637.0606 or click here to schedule a time to speak with one of our estimators.
07-May-2026
By: HD Painting Contractor Ltd.