Epoxy flooring is a durable and attractive option for both residential and commercial spaces. However, proper preparation is crucial for a successful installation. Neglecting to prepare your floor can lead to issues such as poor adhesion, bubbling, or an uneven finish. In this guide, we’ll walk you through the essential steps to prepare your floor for epoxy installation, ensuring a flawless and long-lasting result.
Step 1: Clear the Area
Before starting any preparation work, you need to clear the area completely. Remove all furniture, appliances, and other items from the space. If you’re working in a garage, this includes vehicles, shelving, and any stored items. Epoxy installation requires a clean and unobstructed workspace.
Pro Tip: Keep a designated area nearby to store items during the installation process. Ensure the area is accessible after the epoxy cures, as you’ll need to wait a few days before heavy objects can be placed on the newly finished floor.
Step 2: Thoroughly Clean the Floor
A clean surface is essential for proper epoxy adhesion. Start by sweeping or vacuuming the floor to remove dust, dirt, and debris. Afterward, scrub the floor with a degreasing solution to eliminate oil stains, grease, or other contaminants.
Steps:
- Use a stiff-bristle broom or industrial vacuum to remove loose dirt.
- Mix a degreasing solution with water, according to the manufacturer’s instructions.
- Scrub the floor with a stiff brush or floor scrubber, focusing on stained areas.
- Rinse the floor thoroughly with clean water and let it dry completely.
Pro Tip: If your floor has stubborn oil or grease stains, consider using a commercial-grade cleaner or degreaser. For particularly difficult spots, a steam cleaner may also help.
Step 3: Repair Cracks and Imperfections
Epoxy flooring requires a smooth and level surface. Any cracks, holes, or imperfections in your concrete floor should be repaired before installation.
Steps:
- Inspect the floor for cracks, chips, or divots.
- Use a concrete patching compound to fill in any damaged areas. Follow the product instructions for mixing and application.
- Smooth the patched areas with a trowel, ensuring they’re level with the rest of the floor.
- Allow the repairs to dry completely, according to the manufacturer’s instructions.
Pro Tip: For larger cracks or areas of damage, consider consulting a professional to ensure proper repair before proceeding with epoxy installation.
Step 4: Test for Moisture
Moisture can significantly impact the adhesion and durability of epoxy flooring. Before applying epoxy, it’s important to test your floor for moisture content.
Steps:
- Tape a square of plastic (around 2 feet by 2 feet) to the floor, sealing all edges with duct tape.
- Leave the plastic sheet in place for 24-48 hours.
- After the waiting period, check for any condensation or moisture under the plastic.
If you find moisture, you’ll need to address the issue before proceeding with the epoxy installation. This may involve improving ventilation or applying a moisture barrier primer.
Step 5: Etch the Concrete (If Necessary)
Etching is a process that opens up the pores of the concrete, helping the epoxy adhere better. Depending on the condition of your concrete, etching may be necessary.
Steps:
- Purchase a concrete etching solution from a hardware store.
- Dilute the etching solution according to the manufacturer’s instructions.
- Apply the solution to the concrete floor using a sprayer or watering can.
- Scrub the floor with a stiff brush to work the solution into the surface.
- Rinse the floor thoroughly with clean water and let it dry completely.
Pro Tip: Wear protective gear, including gloves and safety goggles, when handling the etching solution. Proper ventilation is also essential during this step.
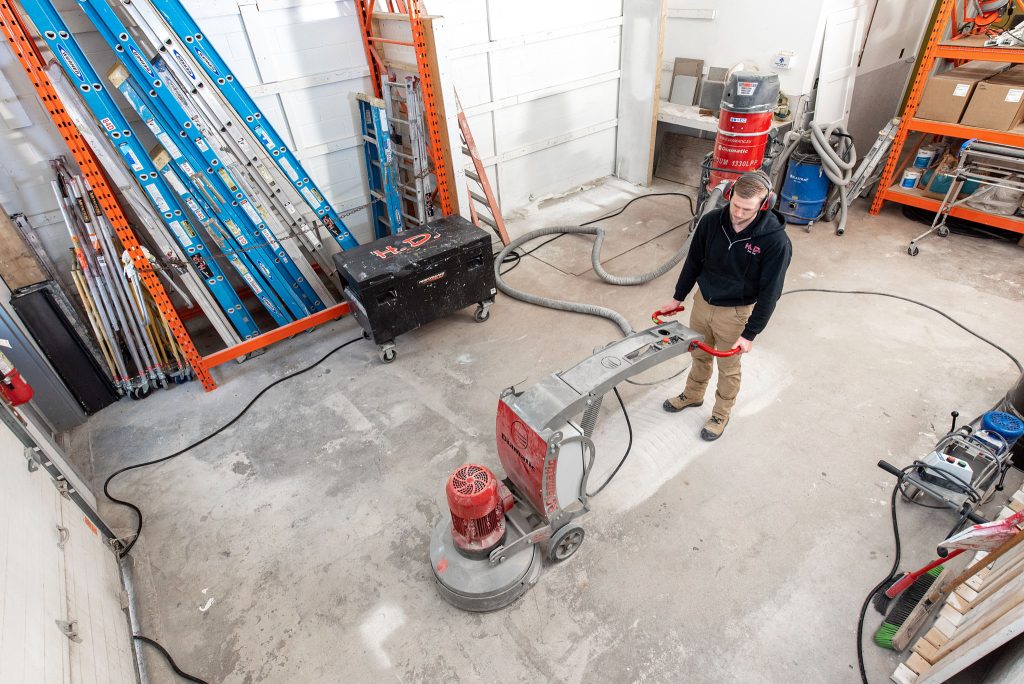
Step 6: Sand the Surface
Sanding the concrete surface creates a rough texture that enhances epoxy adhesion. Use a floor sander or grinder for this step, ensuring even coverage across the entire surface.
Steps:
- Rent or purchase a floor sander or grinder from a hardware store.
- Start with coarse-grit sandpaper (around 60-80 grit) and work your way up to finer grits if necessary.
- Sand the floor evenly, paying attention to edges and corners.
- Sweep or vacuum the dust created by sanding.
Pro Tip: After sanding, run your hand over the surface to check for smoothness. The floor should feel slightly rough to the touch.
Step 7: Prime the Floor
Priming the concrete surface helps to seal the pores and improve the adhesion of the epoxy coating. Choose a primer that is compatible with the epoxy product you plan to use.
Steps:
- Mix the primer according to the manufacturer’s instructions.
- Apply the primer to the floor using a roller or brush, ensuring even coverage.
- Allow the primer to dry for the recommended time before moving on to the epoxy application.
Pro Tip: Applying a primer can also help prevent the epoxy from absorbing too quickly into the concrete, leading to a more even finish.
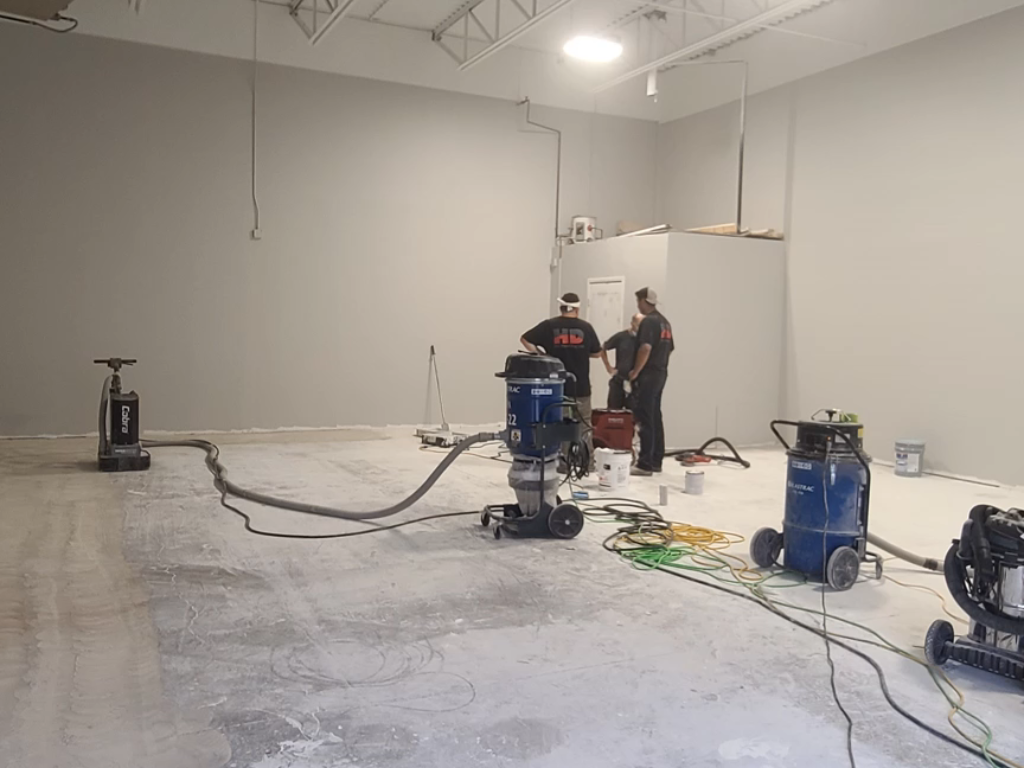
Step 8: Final Cleaning
Before applying the epoxy, perform a final cleaning of the floor to remove any dust, dirt, or debris that may have settled during the preparation process.
Steps:
- Sweep or vacuum the floor to remove any loose particles.
- Wipe the floor down with a clean, damp cloth or mop to pick up any remaining dust.
- Allow the floor to dry completely before proceeding with the epoxy application.
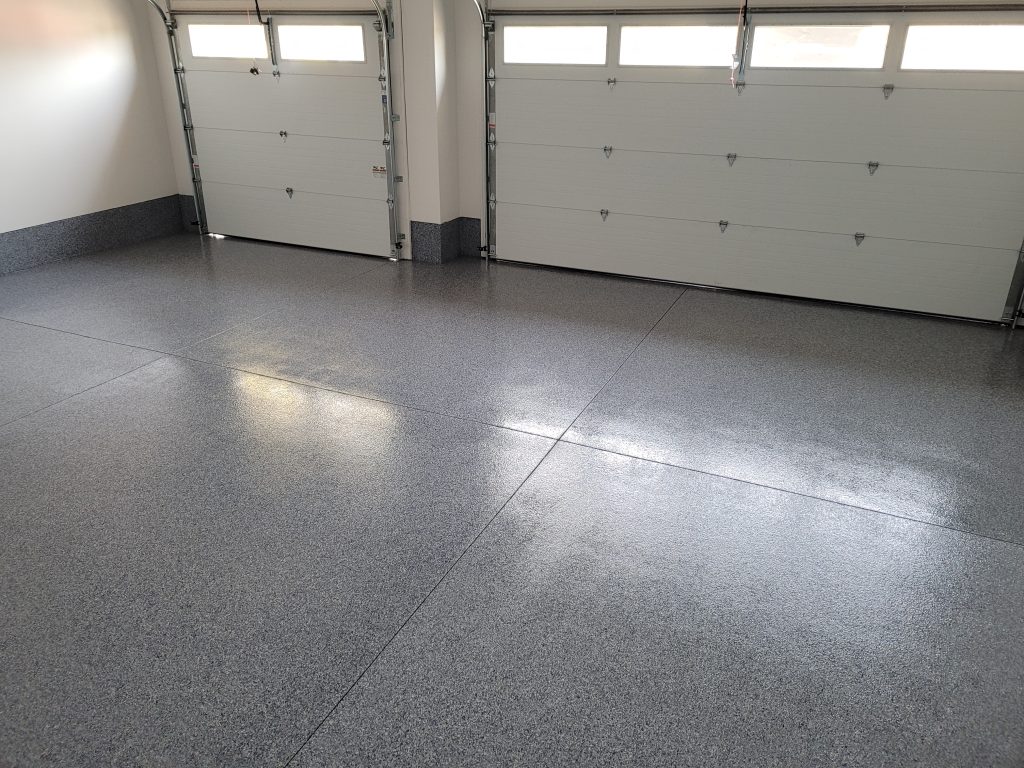
Conclusion
Properly preparing your floor for epoxy installation is essential for achieving a smooth, durable, and long-lasting finish. By following these steps, you’ll create a clean, level, and well-primed surface that is ready for epoxy application. With the right preparation, your new epoxy floor will provide years of beauty and functionality.
Ready to transform your space? Contact HD Custom Concrete Finishes today for professional epoxy flooring installation services!
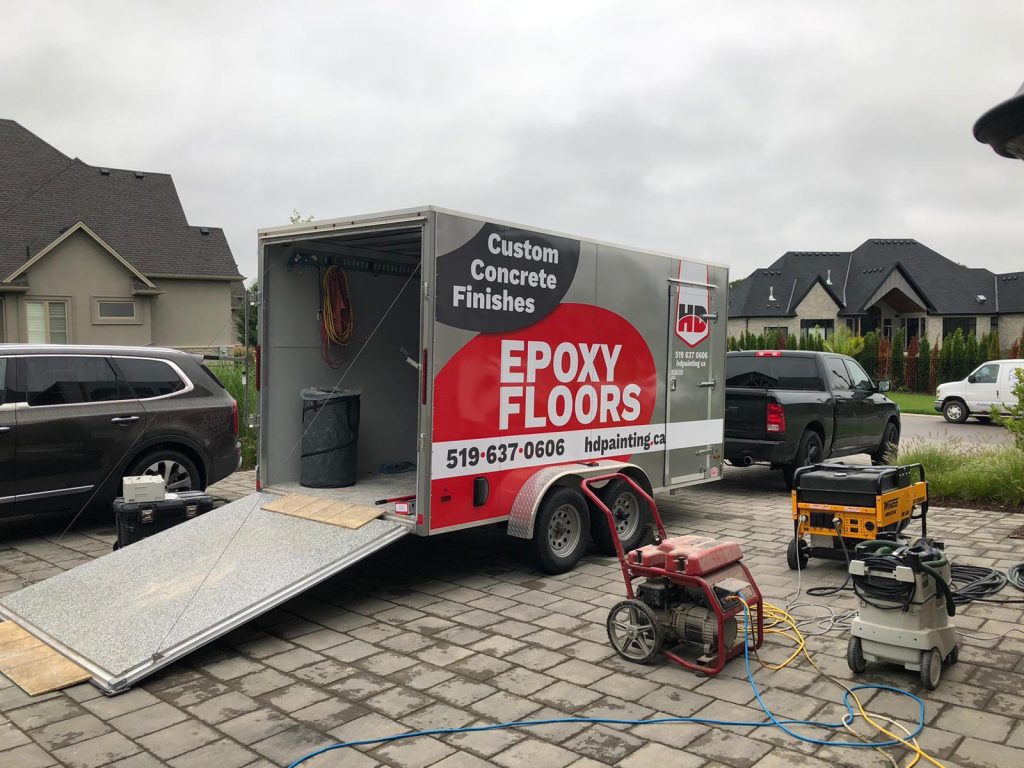
At HD Custom Concrete Finishes we install a wide range of product options from quartz, flake, solid colour, custom colour, metal finish, marble finish, and concrete sealing. We at HD Custom Concrete Finishes excel at exposing the beauty of concrete and providing a long-lasting finish. Whether it’s your garage or your warehouse, we’re committed to assisting you in finding the right floor customization. Our trained crews take the time to get it right, right from the start of the project.
HD Custom Concrete Finishes provides quality epoxy floor installation and concrete sealing. We specialise in completing complex projects on time and within budget using the highest quality products available on the market while providing the quality and service you expect from a family-run operation. Call 519.637.0606 or click here to schedule a time to speak with one of our estimators.
5-February-2025
By: HD Painting Contractor Ltd.